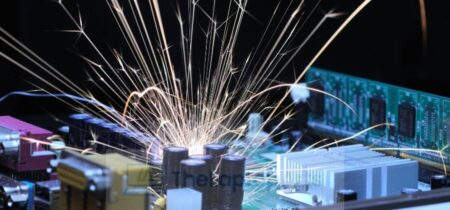
Laptops are great for mobility, but the downside is that they need to be cleaned much more often than desktops. One of the most overlooked parts of a laptop is where all the heat and dust gathers: in your fan. If you don’t clean out your fan regularly, then it will overheat and could potentially be damaged or shorten the lifespan of your computer. The best way to clean your laptop’s fan is with compressed air cans, which you can find at any electronics store like Best Buy or Radio Shack. You just press down on one end for about 10 seconds until it starts hissing, release pressure on both ends before pulling away from each other so it doesn’t spray everywhere! Then use an old t-shirt or something
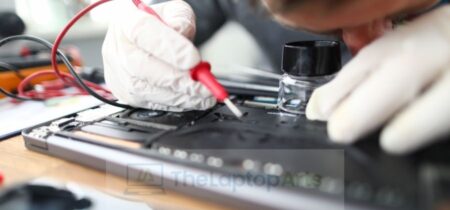
Before you start disassembling your laptop, make sure the power cable is unplugged. Next step is to remove all parts that can be simply removed (keyboard, palmrest etc.). Now take a picture of the cooled component visible from the side or pull out its schematics and draw what you see on it.
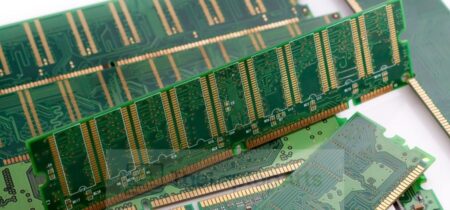
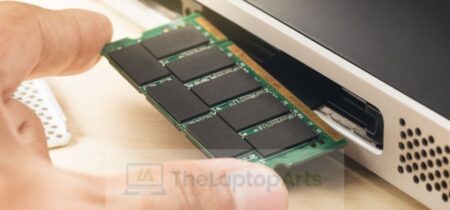
Some laptops allow access to cooling fans only after removing main battery pack – do so by unscrewing 4-8 screws under the battery compartment close to its hinges. Some models also have additional vent grids below main RAM banks – grab them with long fingers or tweezers and pull them up/outwards before you proceed to the next steps.
Now carefully remove the screws holding side cover in place (note that some laptops have plastic flaps covering PCMCIA/memory slots – don’t break them). Don’t forget to check bottom part too, because it’s usually held by several screws. Remove them all. You should be able to take out your laptop cover now, but if you can’t do it, don’t force it or use a knife – most likely a thin plastic piece is still stuck in its place and needs to be carefully removed with fingernails or thin pliers.
If you’re lucky enough not to encounter any excessive resistance while removing main housing from your laptop, move on to the next step – taking apart cooling fan/heatsink assembly.
You should see a visible wire attached to the back of cooling fan – disconnect it from the board by pulling at its plastic connector, don’t try to pull on wire itself because you might break it. Some fans are soldered directly to the board so take care not to apply too much force, heat or sounds while removing them – if their small motor gets stucked for any reason, stop immediately and seek professional . If your laptop uses 2-pin wiring without connectors you can just cut off both ends with pliers before removing fan completely. Check pictures below for reference.
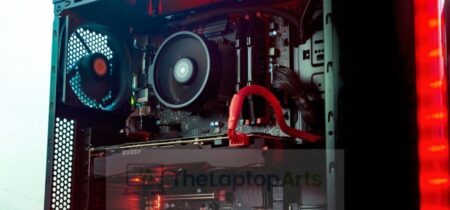
If your laptop still doesn’t turn ON after performing all above mentioned steps, there must be some problem that is unrelated to cooling system. If it works fine, you can start cleaning the fan now.
Before opening the fan check if there are any visible dust particles/hair stuck between its blades or on heatsink fins. If that’s the case, carefully remove them with cotton swab soaked in alcohol (denatured 95%). Use air compressor to blow away remaining debris.
Now take an empty pill bottle and fill it with isopropyl alcohol (90% should be good). Grab your fan by plastic connector or edge of its frame and dip one of its blades into alcohol – make sure you don’t touch rotating part of the fan (we only want to moisten outer surfaces). Spin blade gently to spread liquid evenly across whole surface surrounding motor and let it stay in place for a minute (don’t worry, alcohol evaporates quickly and won’t do no harm to your fan). Repeat this step with other blades.
After one minute try turning the blade by hand – if you feel any resistance there must still be some dirt stuck between the motor and its frame. Dip the whole surface of the blade into alcohol again (and spin it for another minute) until you’re sure all dust particles are gone. Now take a cotton swab soaked in isopropyl alcohol or use air compressor to dry/remove excess moisture from the blade. When finished, put your fan back together following steps 1-3 backwards (in the case of 2 pin connectors make sure they face the same direction as before). Make sure not to touch its wires with alcohol soaked cotton swab (electricity + water = bad).
Last but not least, clean the heatsink fins before reassembling your laptop. Use same tools as for cleaning fan blades – water and alcohol mixed together or air compressor. Use new toothbrush to remove loose dust particles, do it gently so you don’t damage anything inside of your laptop (especially motherboard/BIOS chip).
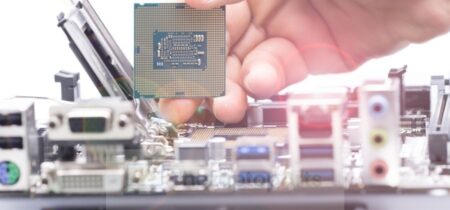
Some models require disassembly of their whole cooling system before you can access main processor(s) attached to it – if that’s the case with yours I strongly advise you to seek professional help before handling something too sensitive for yourself.
Good luck! everything went OK your laptop should be working


![Laptops battery draining so fast [know the reasons]](https://thelaptoparts.com/wp-content/uploads/2021/12/Untitled-design-46-450x210.jpg)