Many of us have laptops that are not working because the hard drive is corrupt or broken. You may wonder if you can run a laptop without a hard drive. It turns out that it is possible, but only with some work beforehand to turn on your laptop and load an operating system on it before you remove the hard drive. then there’s no need for worry! This article will teach you how to get back up and running in no time at all! All of these steps are easy enough for anyone to do at home with minimal technical knowledge.
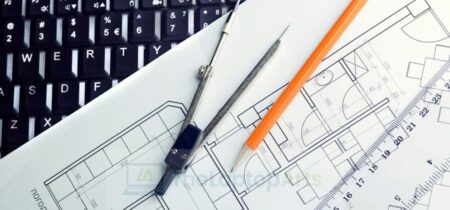
Laptop without hard drive
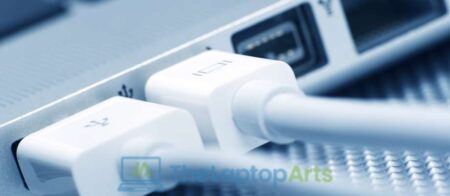
First you must connect your notebook to an external monitor and keyboard. Then, go the bios menu and set the boot device as primary master or internal CD-ROM. If possible, enable any virtualization options such as VirtualBox, VMWare or Parallels so that you can install software once your laptop is back on. Finally boot from an installation disc and choose which operating system you want to load. Once the operating system is loaded, it’s time for some more work! Any files that were saved onto your hard drive will be lost unless they were stored in a document management program like Google Drive or OneDrive. It would also be wise to back up all of those files now so you don’t have to lose them when your hard drive is removed.
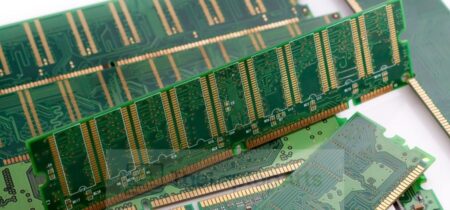
The next step in this process would be removing the hard drive from your laptop and then installing a new one in it’s place! This will require a little tinkering with screws, but not much. Once you’ve replaced the old hard drive with a new one, install any drivers that may be needed for your device if they come on a disk or already exist on your computer. Plug everything back in and boot up! Well troubleshooting is never fun, but at least you can take comfort in knowing that no matter what happens, there’s always another way to get around the problem.
A computer without a hard disk is useful for troubleshooting purposes, but any data that was on the drive will be lost. There are ways to start the computer without the hard drive installed, but all of them involve modifying your motherboard and disabling some of your system’s components, so it requires specialized knowledge of these computers.
HDD setup
Power on the computer and press “F10” when you see an option to go into HDD setup or diagnostics mode. If this does not work, enter BIOS by pressing the correct key as described in your motherboard’s manual.
Use your motherboard book to find out how to turn off one of your video cards if they have multiple video card options enabled/disabled with graphics disabled — for example one of them might be set to “onboard only” if there are multiple video cards installed. If you disable one of these options, it will not cause any problems in most cases — your monitor is plugged into the primary video card, so you won’t even notice the downgrade.
Find out how to disable SATA controllers in BIOS and do that also. If your hard disk uses a PATA connection instead (look for an IDE/EIDE/ATAPI connector), look up how to disable this in case you have more than one of these connectors enabled with differing hard disks.
BIOS
Now go into the BIOS and change the boot order so that a video card is first in line to be used when you boot your computer. Save your settings and exit out of BIOS, which should now automatically boot the machine from your video card with no hard disk installed. You will have to do this each time you turn on the system unless you’ve made these changes permanent by saving them in CMOS when exiting out of them in BIOS, but there are usually options for doing this when exiting out of them after making changes.