You might need to clean your laptop’s RAM. This post will show you how to do it.
This process only takes about five minutes and can greatly improve the performance of your computer.
The steps are simple:
1) Shut down your computer and turn it over so you’re looking at the bottom side with all the screws visible
2) Use a small screwdriver or an Allen/Hex wrench to remove one screw securing the memory module in place on either side of the slot
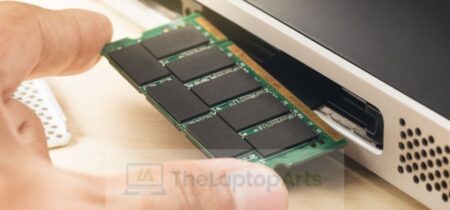
3) Pull up on the module slightly while pulling outwards away from slots until it clicks free from its socket, then lift out completely
Cleaning your laptop’s RAM
Just follow along here; I’ll show you everything you need to know!
RAM Cleaning Tools You Will Need:
Can of compressed air (or other suitable propellant) A small Philips-head screwdriver Isopropyl alcohol (90% concentration) Q-tips Paper towels Optional: an antistatic wrist strap How To Clean Laptop RAM –
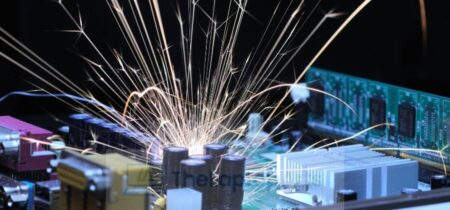
Step 1: First shut the computer down. Most people don’t think about it, but you can generate more static electricity with a spinning hard disk than just about anything else. So if you’re not careful, that static charge could potentially fry your laptop’s RAM, which is definitely an expensive lesson to learn!
Step 2: Remove the battery connector from the motherboard by gently pulling up on the edges with your fingers. The battery should pop right out without too much trouble. Be sure to keep track of all screws so they go back in the same location as they were taken from. Using a screwdriver or another metal object will cause damage to your computer and possibly ruin electrical components inside your motherboard.
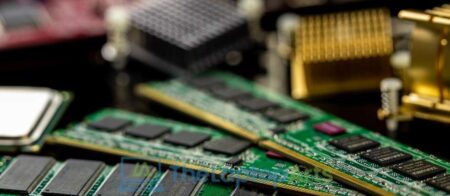
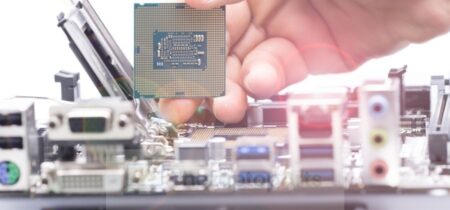
Step 3: Locate the RAM slots. Most laptops have two of them, while some may only have one. Check to see if your computer has an additional module installed in the other slot, if so remove it.
Step 4: Use a small Philips-head screwdriver to loosen each end of the retaining screws that secure each side of the RAM modules in place on either side of the slots. The module should become loose from its sockets when you unscrew both sides enough. Pull up on the module slightly while pulling outwards away from slots until it clicks free from its socket, then lift out completely by pulling straight up and lifting directly outward away from the motherboard.
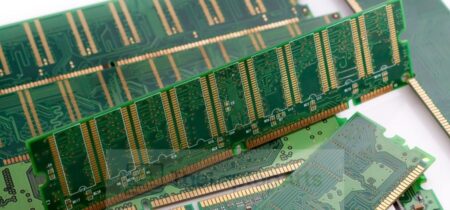
Step 5: Next is determining which kind of RAM sticks are inside your computer. The RAM modules are usually color coded to help prevent mismatching them with other parts, but manufacturers may use different colors for their sticks than others do. If you aren’t sure which is the correct type, don’t force them in or out of their sockets; it could result in permanent damage!
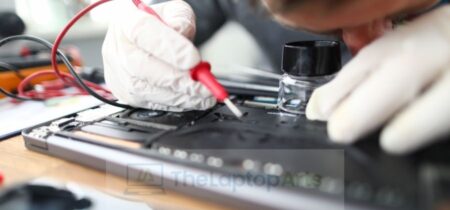
Step 6: Lay the module on top of a paper towel along with the can of compressed air and carefully clean off any dust particles by directing short bursts of air at both sides of the stick.
Step 7: Keep cleaning until no more dust comes off when spraying air on it. When that happens, flip the stick over and repeat this process for both sides before moving on to its neighbors if there any present.
Step 8: After all sticks are clean, it’s time to put them back in place. Insert the stick at an angle and push straight down until both ends click into place; each end should fit snugly in its socket. If you cannot get them to seat properly because of dirt or dust particles, repeat the previous cleaning steps for that particular slot.
Step 9: Replace the battery connector on your laptop motherboard by gently pushing it inwards again. Don’t worry if it doesn’t seem to fit well, just make sure there are no connectors poking out from underneath once it snaps back into place entirely. This will ensure a good connection between the power supply and motherboard.
Step 10: Press the power button to turn your computer back on! You should immediately see your hard drive light, battery light or other indicator that it is turning on successfully. If you have trouble getting it to boot up, go through all of the previous steps again beginning with removing the battery connector off of the motherboard. Again, static electricity can cause a lot of damage if not handled correctly so please be careful when performing this maintenance yourself!


![Laptops battery draining so fast [know the reasons]](https://thelaptoparts.com/wp-content/uploads/2021/12/Untitled-design-46-450x210.jpg)